Building a personal blogging site using Jekyll in under 15 minutes
01 Aug 2020Walk-through for creating this website using a Jekyll theme - Lanyon and hosted on Github pages, using Markdown and Docker for local hosting.
Step 1: Clone Lanyon Repo
// Clone the Lanyon Repo
git clone https://github.com/poole/lanyon.git
// Flush git info
rm -rfv lanyon/.git
// Rename the path to whatever you want to call your github repository
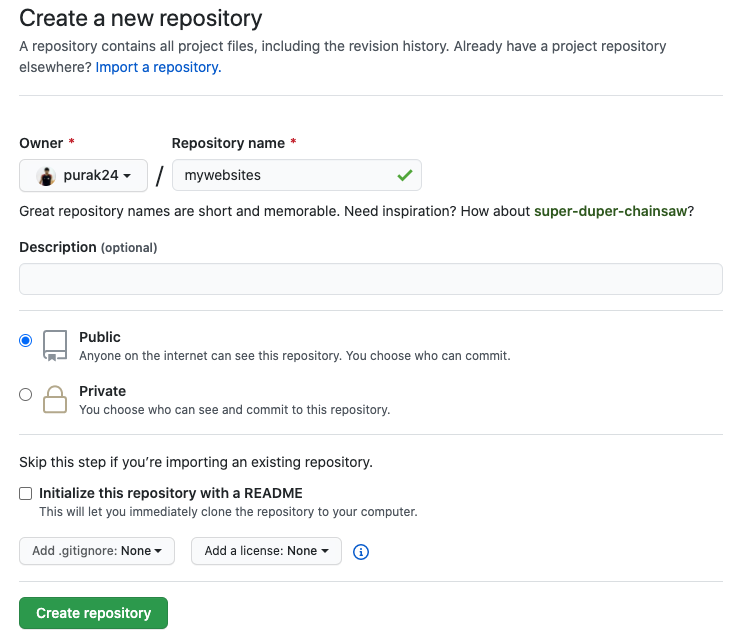
mv lanyon mywebsitesStep 2: Create Github repository
Head over to GitHub and create a new repository.
Step 3: Commit to Github
Let’s do an initial commit to our new repo.
git init
git add .
git commit -am 'initial commit'

// Add your repo below

git remote add origin <your repo>
git push -u origin master
Step 4: Enable GitHub Pages
From your github repo, goto settings and enable github pages. Within a few minutes you will have the URL to your website!

Step 5: Use Docker to serve content locally
To serve your website locally before pushing your changes to github, you may use Docker
For the very first time you will have to do a build:
docker run --env=DEBUG=true --rm --volume="/Users/purak/Desktop/mywebsite:/srv/jekyll" -it jekyll/jekyll:$JEKYLL_VERSION jekyll buildOnce the build is complete you can run it with draft mode:
docker run --name mydomain.com --env=DEBUG=true --rm --volume="/Users/purak/Desktop/mywebsite:/srv/jekyll" -p 4000:4000 -it jekyll/jekyll:$JEKYLL_VERSION jekyll serve --watch --draftsYour website should now be hosted locally at: http://localhost:4000